Sunday, May 27, 2012
My Sunbird Family
My little Sunbird family continue to put up with my presence! I've seen them feed their young but they remain hidden in the nest. What a blessing!!

Tuesday, May 15, 2012
My final Lasagne


Monday, May 7, 2012
Mr and Mrs Sunbird
Mr and Mrs Sunbird have buit a nest of bits and pieces held together by spider web. It all hangs from a wire in my Gazebo.
Its lovely to be blessed by this new family moving in!


Monday, April 30, 2012
The Pumpkins are taking over......
I'm still planning the final plantings but just love how my temporary plants - pumpkins, are justr loving it!


Sunday, March 25, 2012
Swales are working!

On a day of heavy rain you can see them holding the water back - for a while anyway!
Thursday, March 15, 2012
Fungi


FROM:
http://www.fungibank.csiro.au/topic_3_2_4.htm
"What happens if fungi are not present in revegetation soils?
The diverse and unique array of symbiotic and decomposer soil fungi in Australia’s native woodlands play a large role in the woodlands - preventing rundown in soil nutrient supply and ensuring sustainability of soil nutrient cycling processes.
Absence of fungi in woodland revegetation soils may correspond with increased risk of:
Rundown in plant available nutrients in the soil.
Loss of plant vigour.
Loss of soil quality.
Inadequate food supply for some small mammals.
Low levels of biodiversity.
If soil diversity and processes similar to those of natural woodlands are not establishing then management of productivity in revegetation for the long term may be reliant upon inputs of fertilizer. The landscapes may have decreasing prospects of sustainable agricultural productivity. The financial and environmental cost of artificially maintaining productivity of land may climb with time. The high cost of upholding productivity artificially is increasingly turning attention to an economic preference for re-establishing the natural ecosystem services and functions in revegetation."
Check out the images above illustrating the fungi invasion of my garden! It amazes me that it all happens overnight and then they are gone by 10:00 AM - only to cover the area again the next morning!
Retro fitting swales!


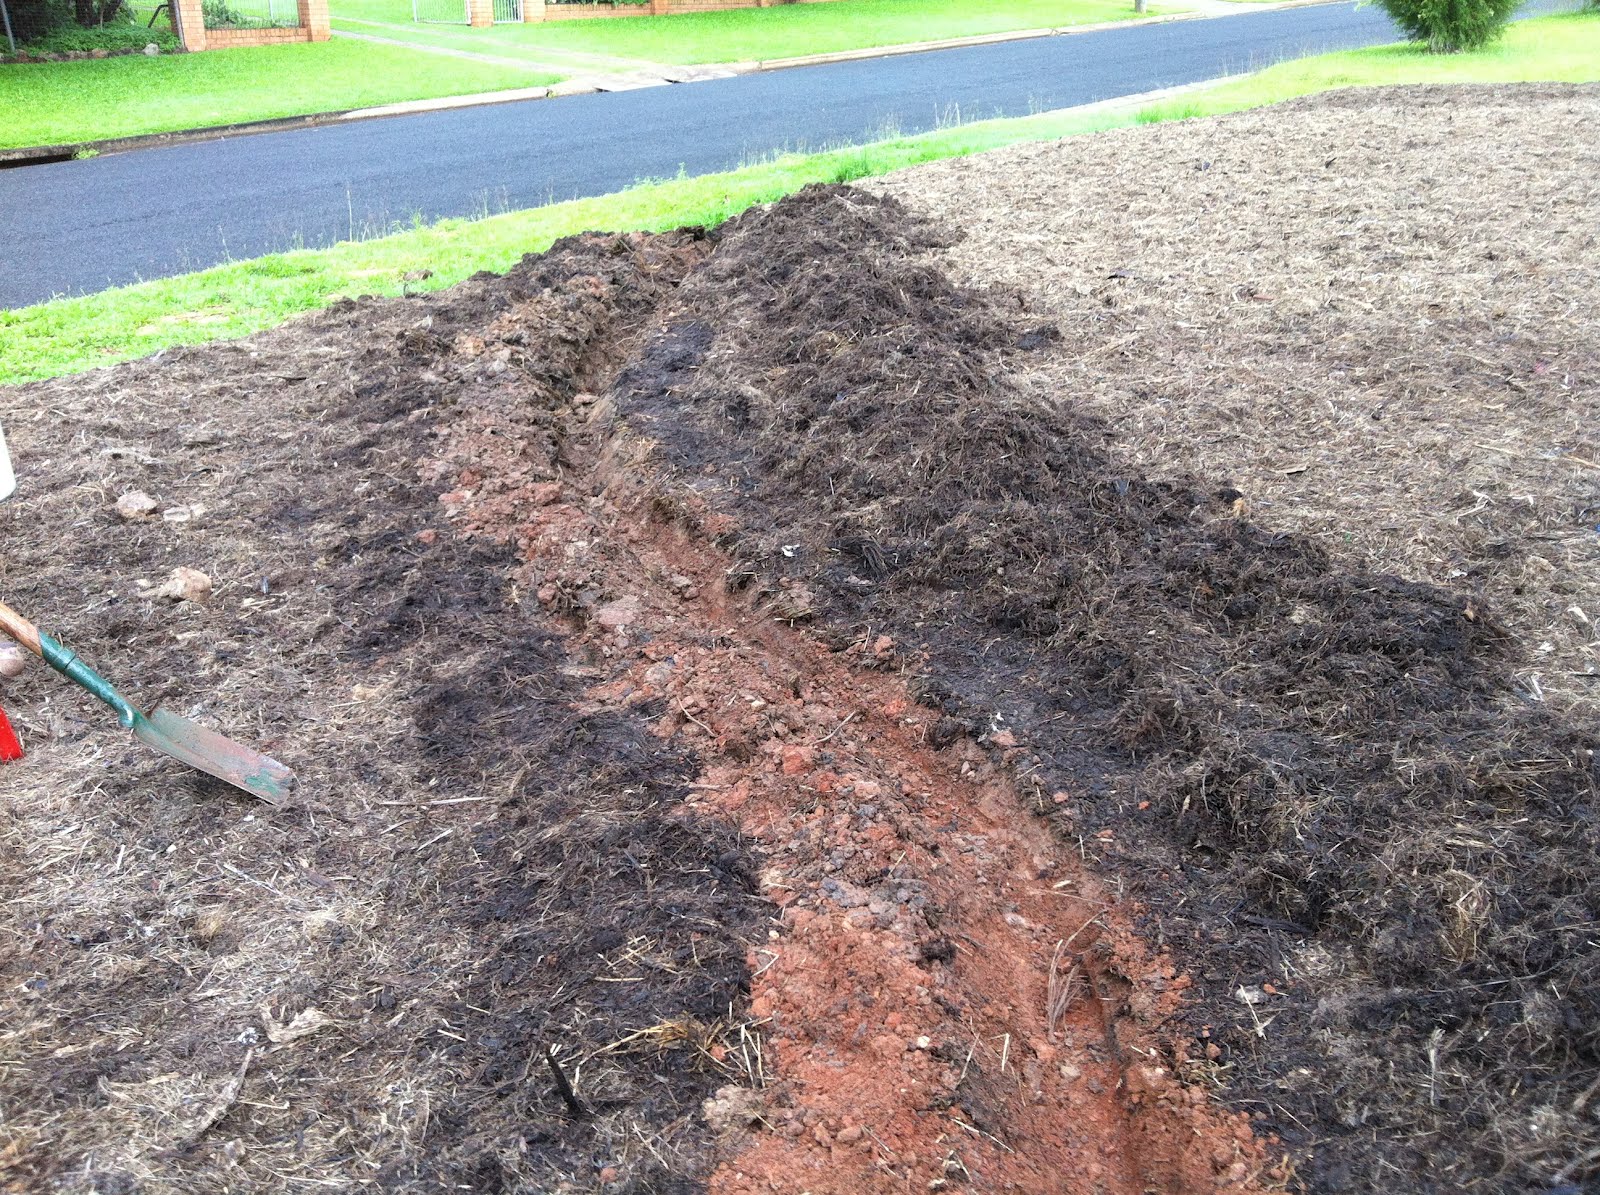


I was pleased with the Lasagne until it rained! It became clear that once the mulch, straw, manure and green waste had become saturated with rain then the water began to move! As the Wet Season descended on us the rain caused the water to seep, with all its soil regenerating goodness, from under the lowest point - near the letterbox - and then down the road!
Action was then needed. Checked out Bill Mollison's book and then went about installing swales.
I made up a frame to get the contour levels correct. I was surprised how easy this was. This technique was demonstrated at my Permaculture Design Certificate course. All I had to do was pivot it from end to end and find the next point where my spirit level said it was level! (Alternatively I could have had a plumb bob hanging by string from the top and locating with a mark on the base board that indicated it was level) By doing this the two trenches I made are level and hence store the water rather than have it run one way or the other. (In one image you can see the trench filling as I was forming it.)
Subscribe to:
Posts (Atom)